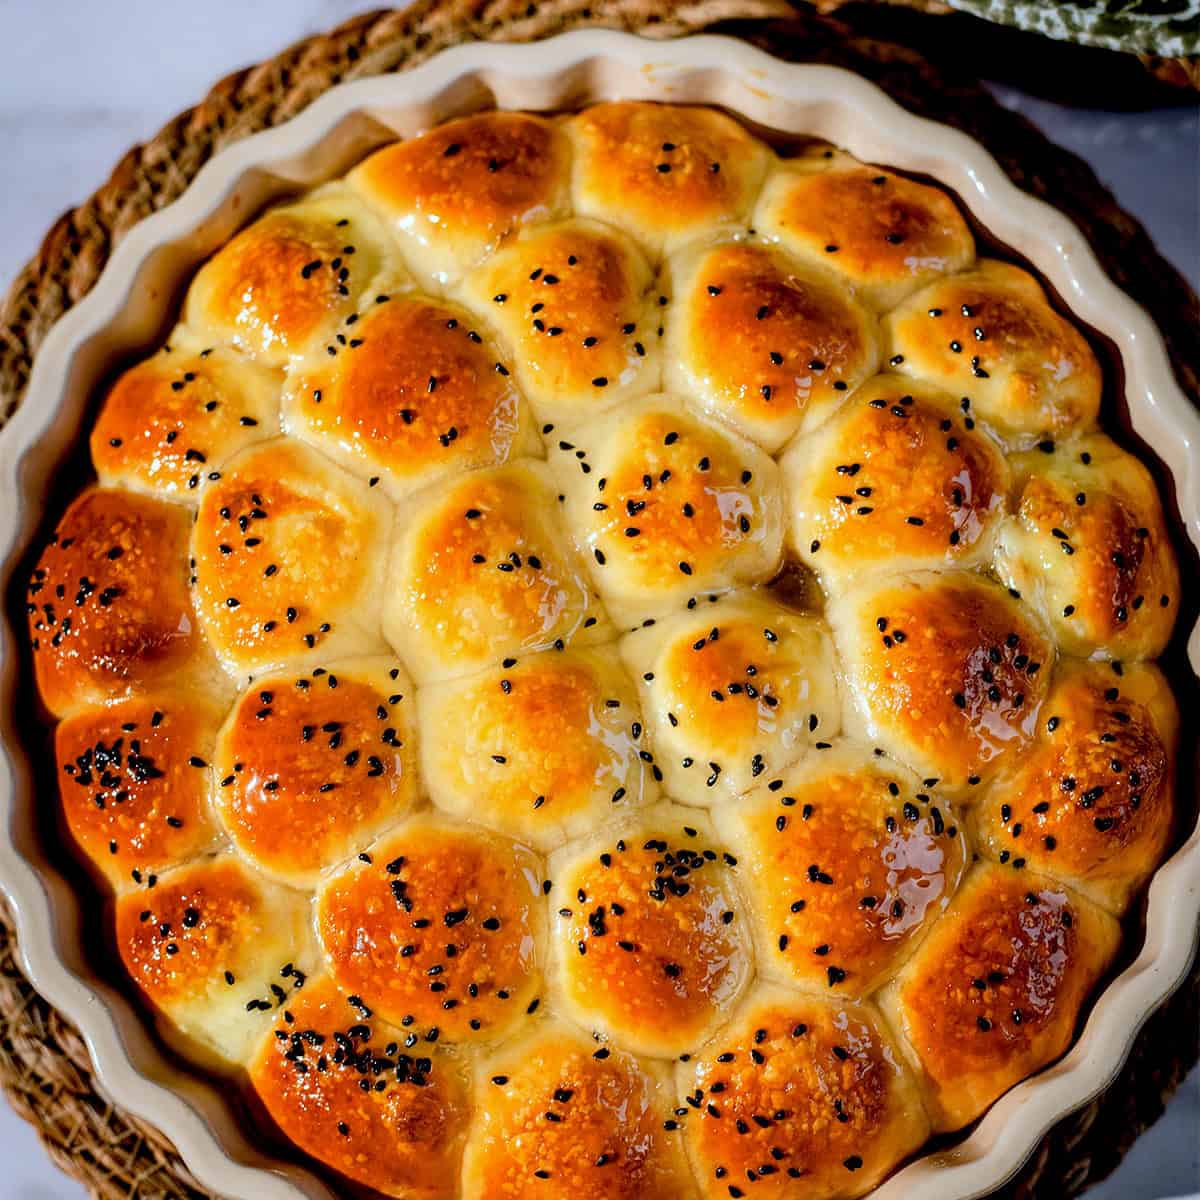
Soft, golden little buns filled with cream cheese, baked together until they form a beautiful honeycomb, then finished with a sweet honey syrup.
This is Khaliat Nahal, also known as Yemeni Honeycomb Bread or Beehive Bread.
I call this recipe Honey Buns because that is what I started calling them, but honestly, I think that name sells them a little short. They are so much more than a bun with honey on top.
You have a soft, tender bread dough, a little pocket of creamy cheese in the middle of every bun, sesame seeds scattered over the top and then that glossy syrup poured over everything while the bread is still hot.
It is the sort of thing where you tell yourself you will just pull off one. And then you pull off another.
Jump to:
- Snapshot
- What is Khaliat Nahal?
- Why I love this recipe
- Ingredients
- How to make Honeycomb BreaD
- Tips and Notes for making Khaliat Nahal
- Can I flavour the cream cheese filling?
- Can I use condensed milk instead of the syrup?
- Can I freeze Honeycomb Bread?
- When to serve Honeycomb Bread
- Frequently Asked Questions
- A note from me
- 📖 Recipe
Snapshot
Cuisine: Yemeni / Middle Eastern
Course: Baking, Breakfast, Dessert
Makes: 51 small buns
Prep: 45 minutes
Proving: 2 hours 30 minutes
Bake: 20-25 minutes
Total: 3 hours 45 minutes
Best for: Breakfast, tea, sharing, dessert
What is Khaliat Nahal?
Khaliat Nahal is a honeycomb or beehive-style bread made from small balls of dough arranged closely together before baking.
The buns rise and join together as they bake, giving you that distinctive honeycomb appearance.
Mine are filled with cream cheese (or Kiri Cheese) and finished with a simple honey and orange blossom syrup. You can also change the flavour of the syrup, which is handy because orange blossom is not everyone's thing.
The result is somewhere between bread, sweet bun and dessert. And that is exactly why I love it.
Why I love this recipe
This is one of my favourite recipes on Tiffin & Tea.
First, the bread itself is lovely and soft. The dough is enriched with butter, yoghurt and egg, so you get a tender bun rather than something that feels like ordinary bread.
Then there is the cream cheese.
Each little ball gets a small amount of cream cheese tucked inside before it is sealed and rolled smooth. It doesn't look like much when you are making them, but when you pull one open and find that creamy centre, it makes the whole thing.
The sesame seeds give you a little nuttiness too.
And then there is the syrup. (Or Condensed Milk).
You pour it over the buns while they are still hot, so it coats the tops and works its way into the bread.
It is sweet, sticky and completely moreish.
Ingredients
For the dough
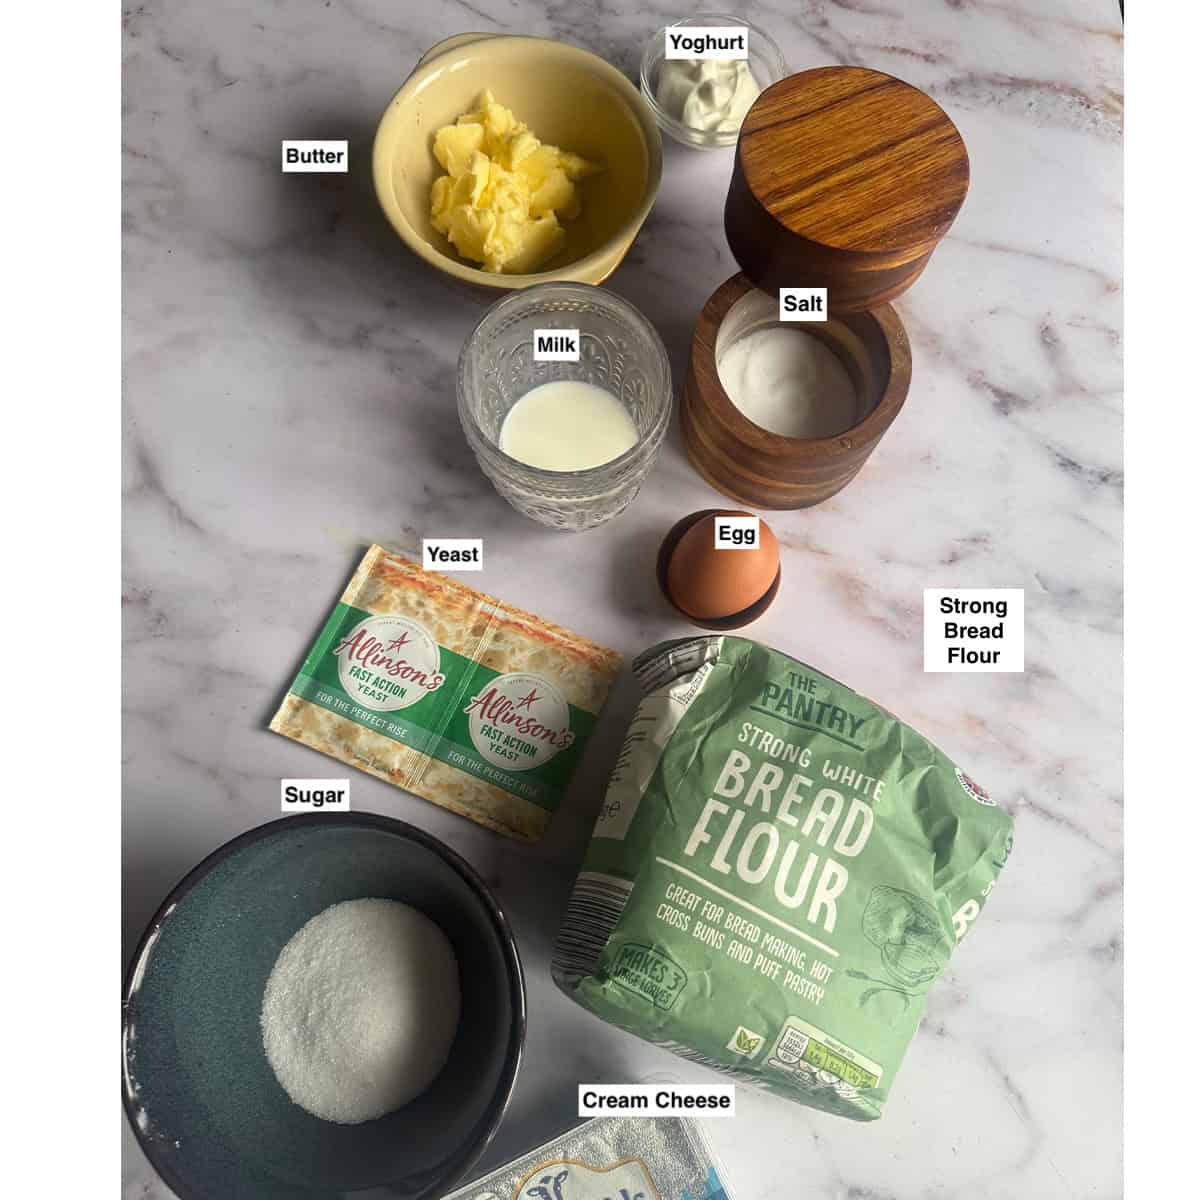
Milk: Use lukewarm milk. If you are using dry yeast rather than instant yeast, this is also what you will use to activate it.
Instant dry yeast: This is mixed into the dough. If you are using another type of dry yeast, activate it in the warmed milk first.
Salt: Just a touch to bring the flavours to life.
Strong bread flour: This gives the buns their structure and helps create that soft, stretchy bread.
Caster sugar: Adds sweetness to the dough.
Butter: Use butter at room temperature so it incorporates easily.
Greek yoghurt: Helps keep the dough soft and tender.
Egg: Adds richness to the dough.
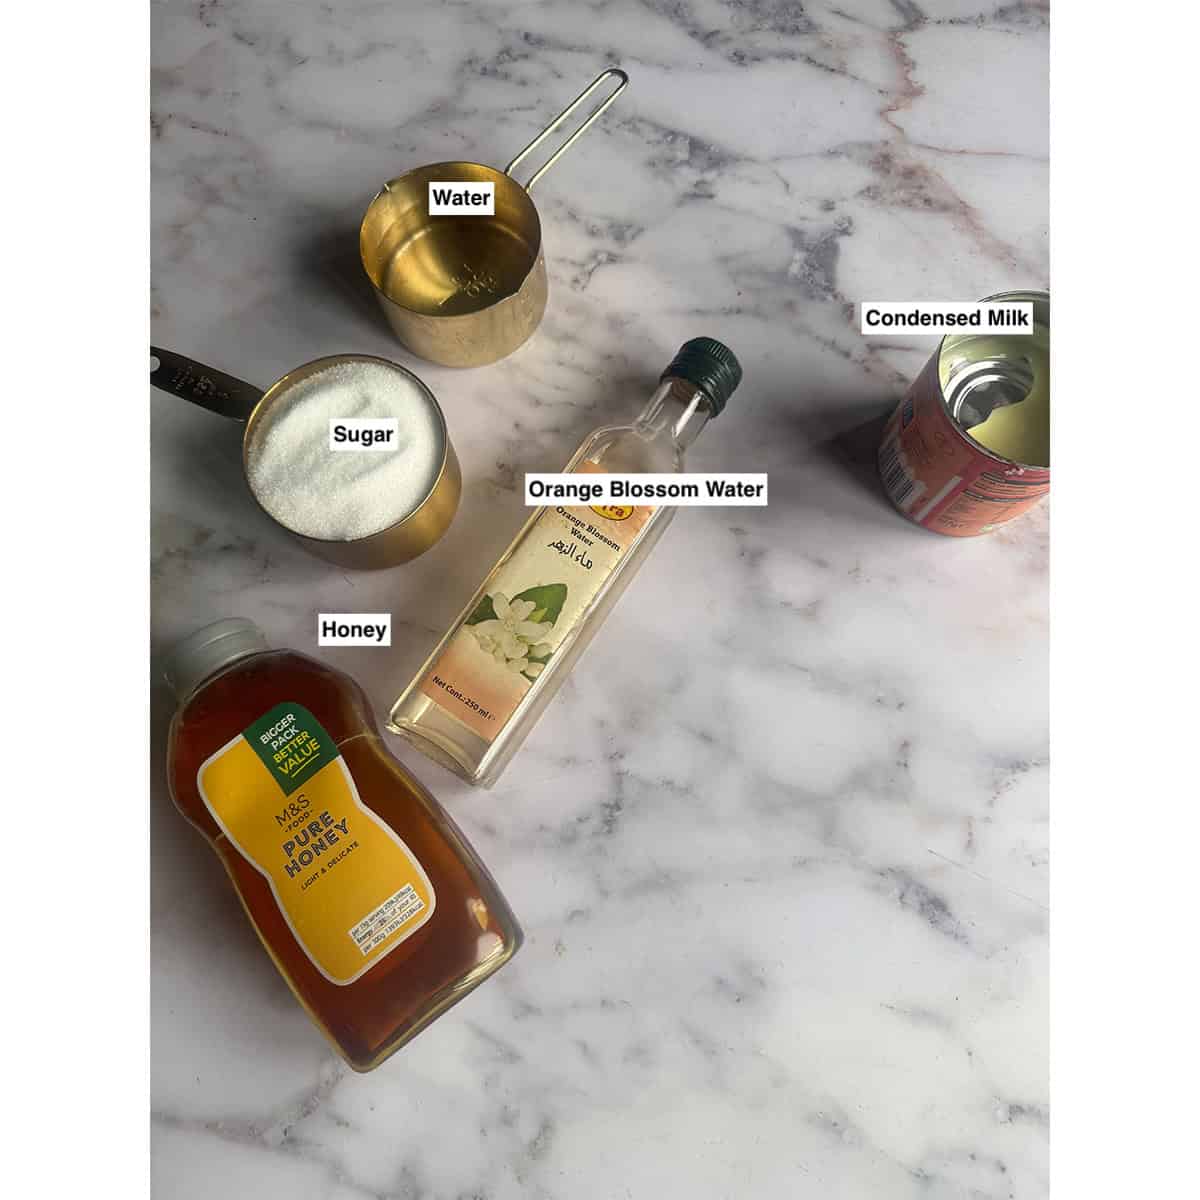
Water: Add it slowly. Your flour may need a little more or less, so go by the feel of the dough.
For the filling
Cream cheese: Something like Philadelphia or Kiri. This is the filling. You will use around 5g per bun.
Note - You can keep it completely plain, or flavour it with spices, citrus zest or other dry flavourings. Just avoid adding anything too wet, as it can make the filling difficult to contain inside the dough.
For the topping
Egg and milk: These are mixed together to make the egg wash and give the buns their golden finish.
Sesame seeds: Sprinkle these over the egg-washed buns before baking.
For the syrup
Water and caster sugar: These form the base of the syrup.
Honey: Adds the honey flavour that gives these buns their familiar name.
Orange blossom water: This is optional, but I love it here.
Nowadays people tend to replace the syrup with Condensed Milk. This is also a great option.
How to make Honeycomb BreaD
Make the dough
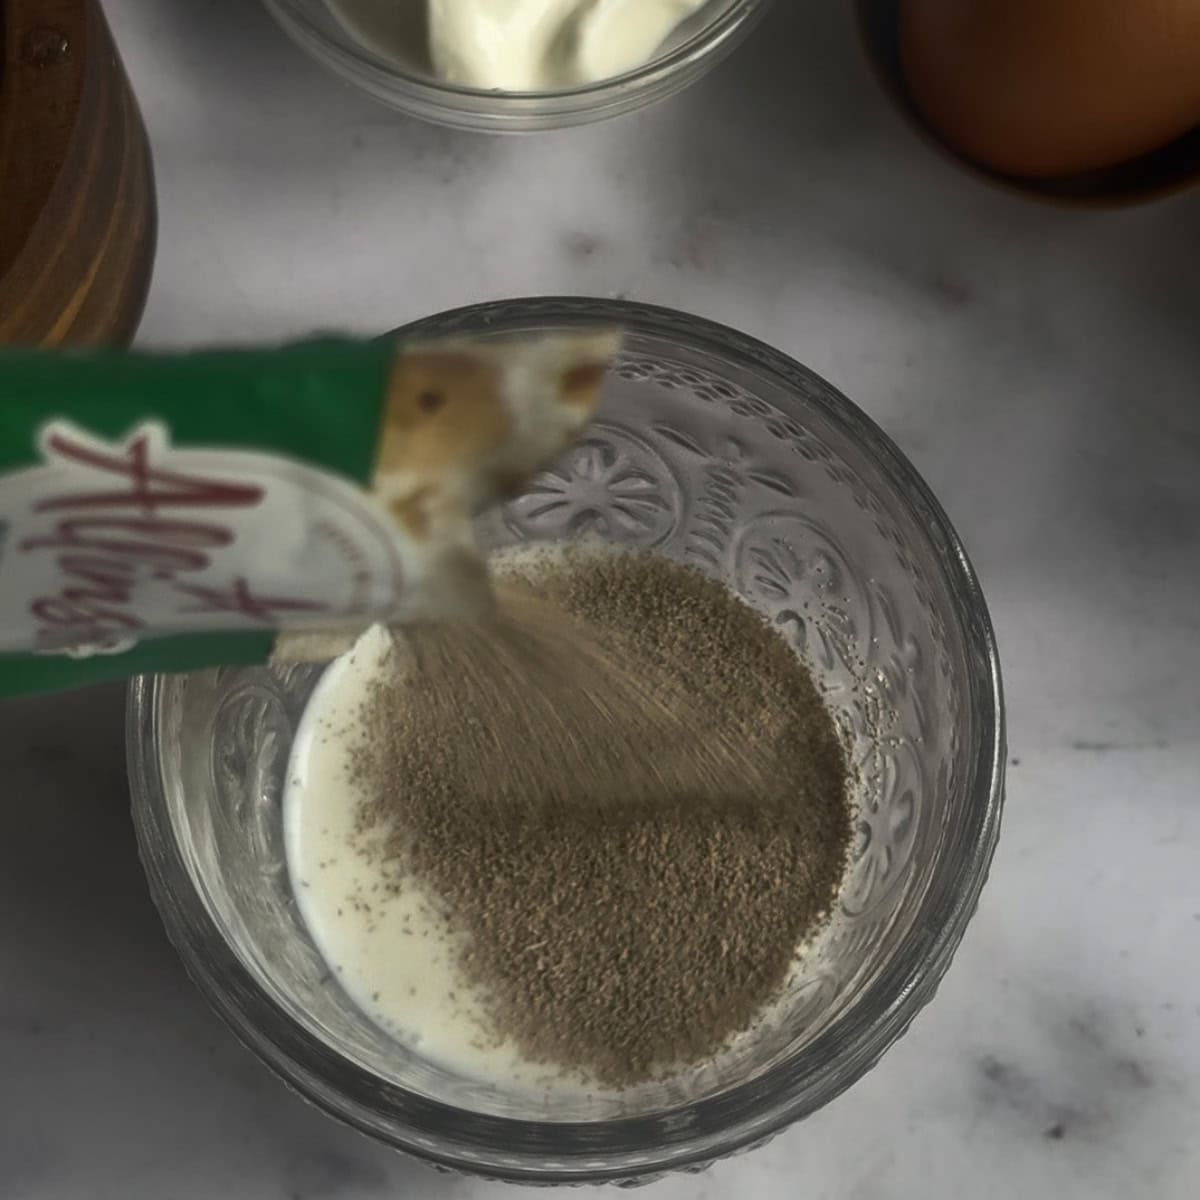
If you are not using instant yeast, activate the dry yeast by adding it to the warmed milk. Allow it to bloom for 5 minutes before continuing.
If you are using instant yeast, add the milk to the yeast and continue.
Add the salt. (It will not kill the Yeast).
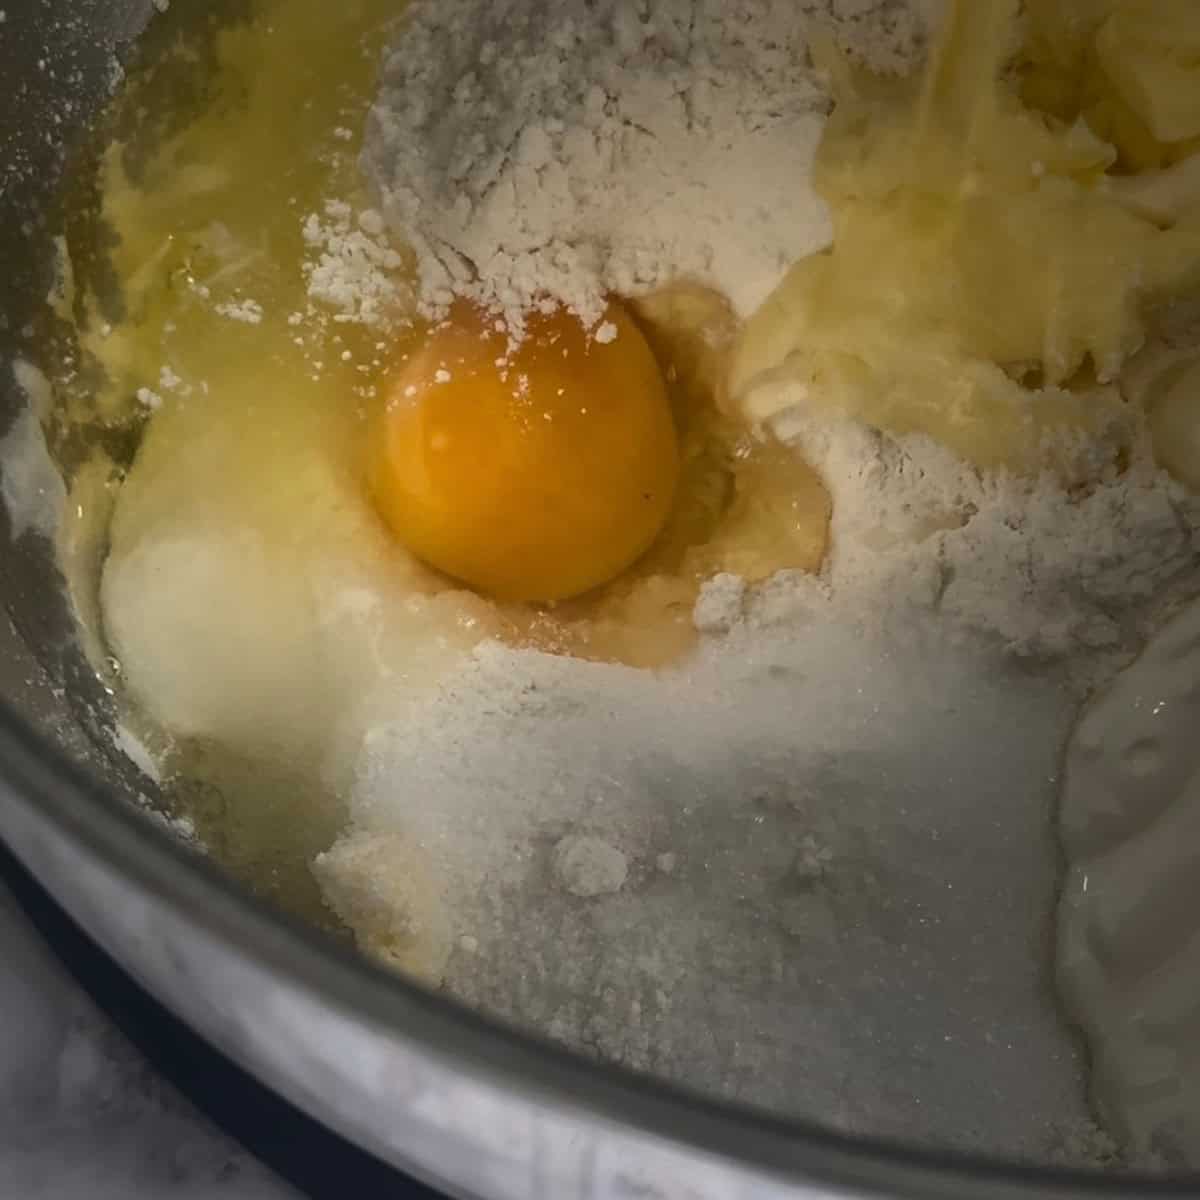
Then add the flour, sugar, butter, yoghurt and egg.
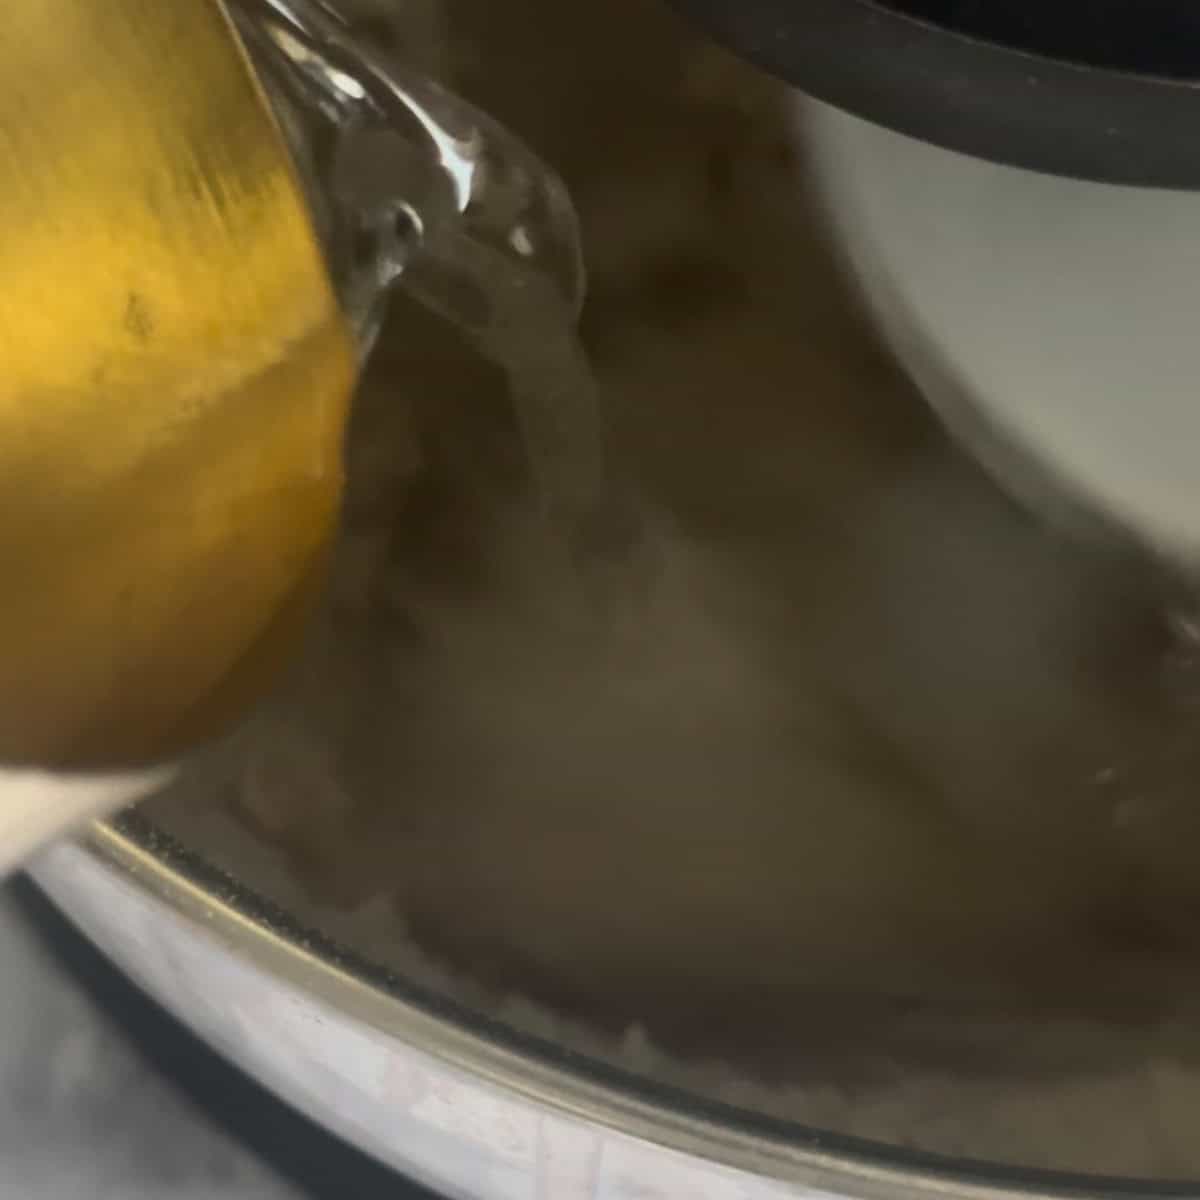
Add the water slowly. You may need a little more if the dough feels dry.
Knead for 15 minutes in a stand mixer until smooth.
Leave to prove in a warm place for 1 hour.
Divide and fill
Grease or line a large round baking dish or tray.
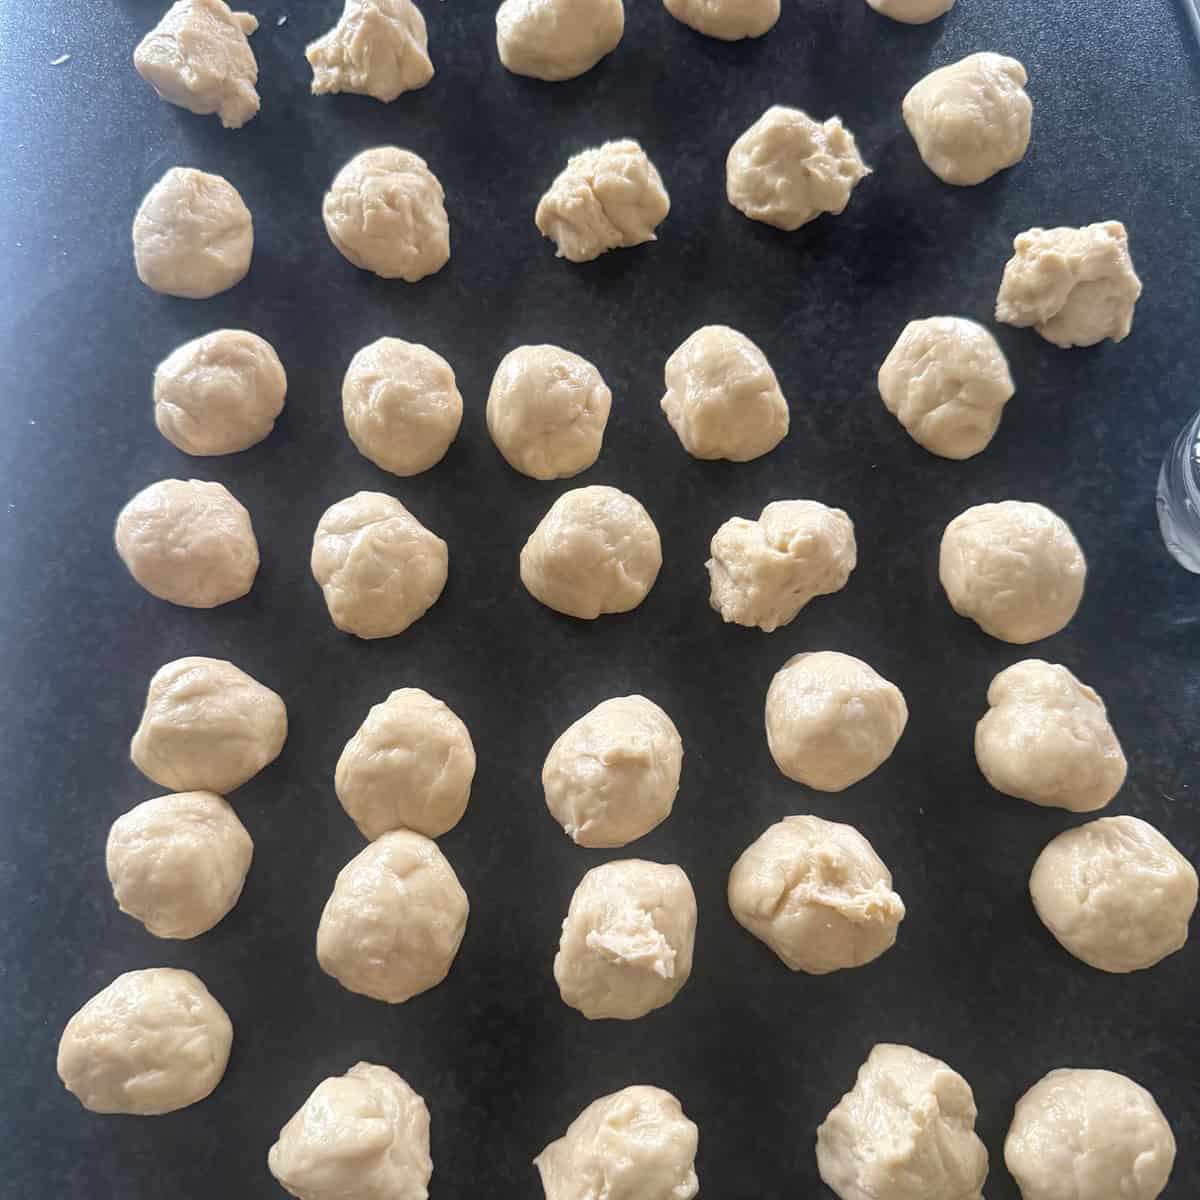
Divide the dough into 50 pieces. I find the easiest way to do this is to weigh the dough and divide it accordingly.
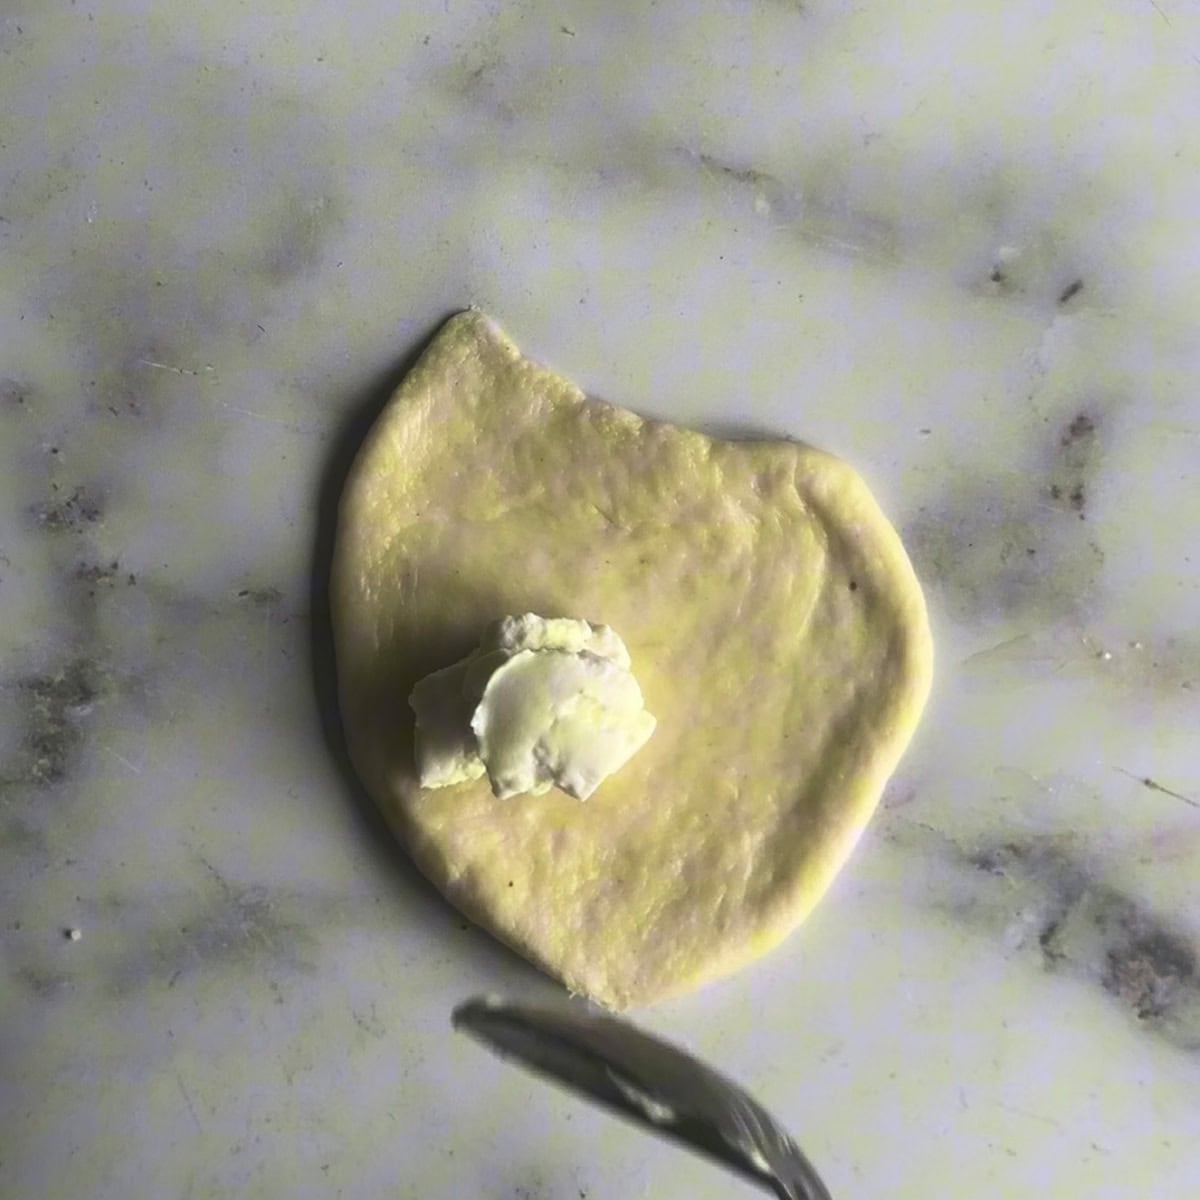
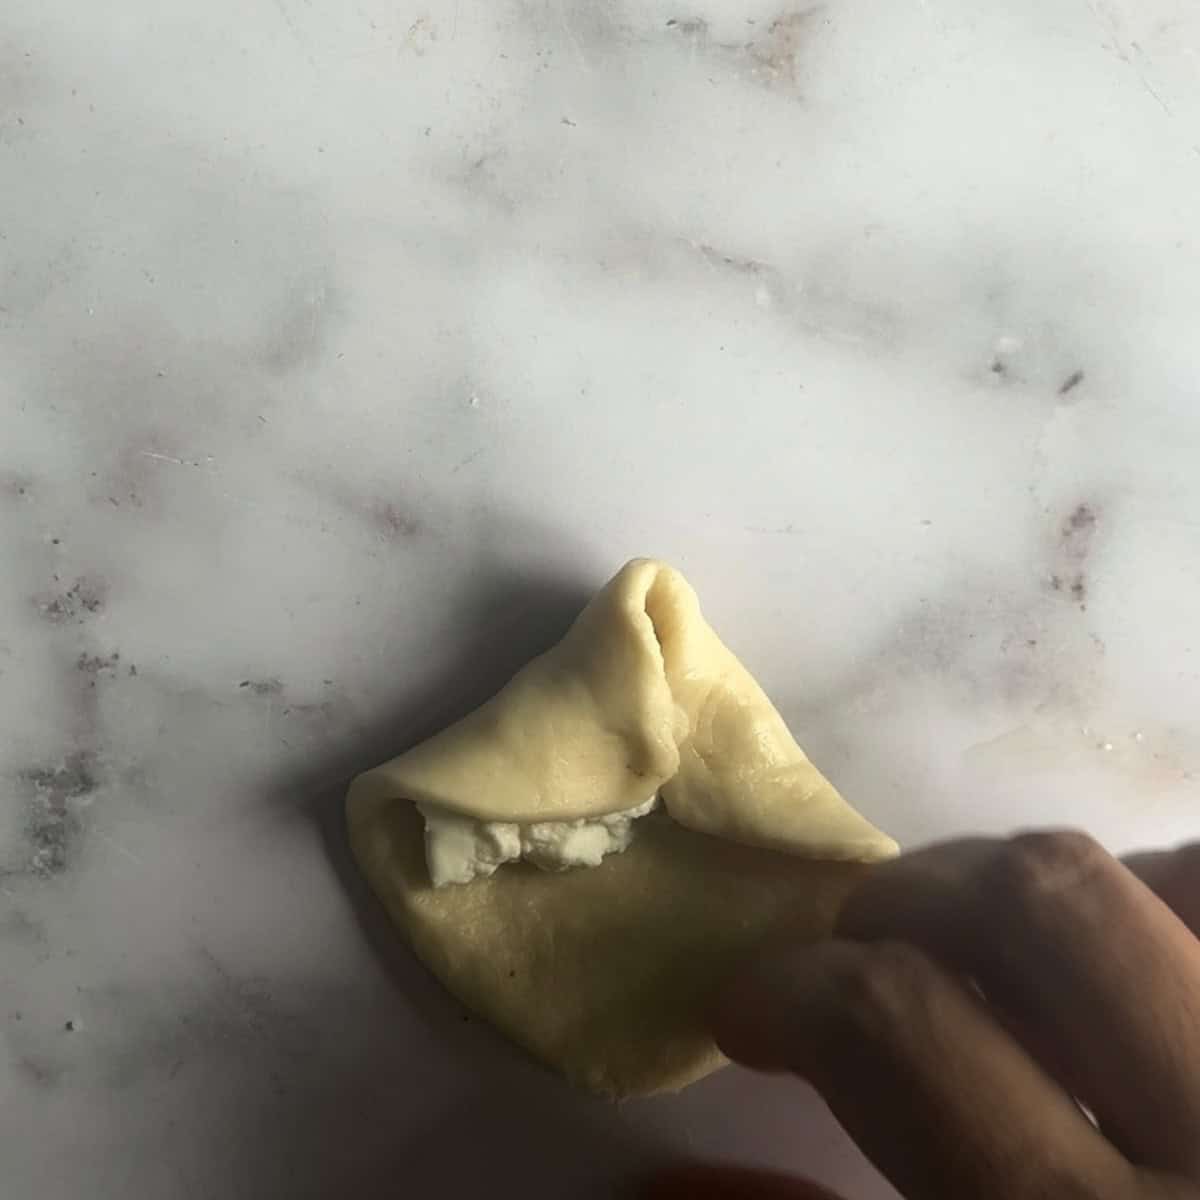
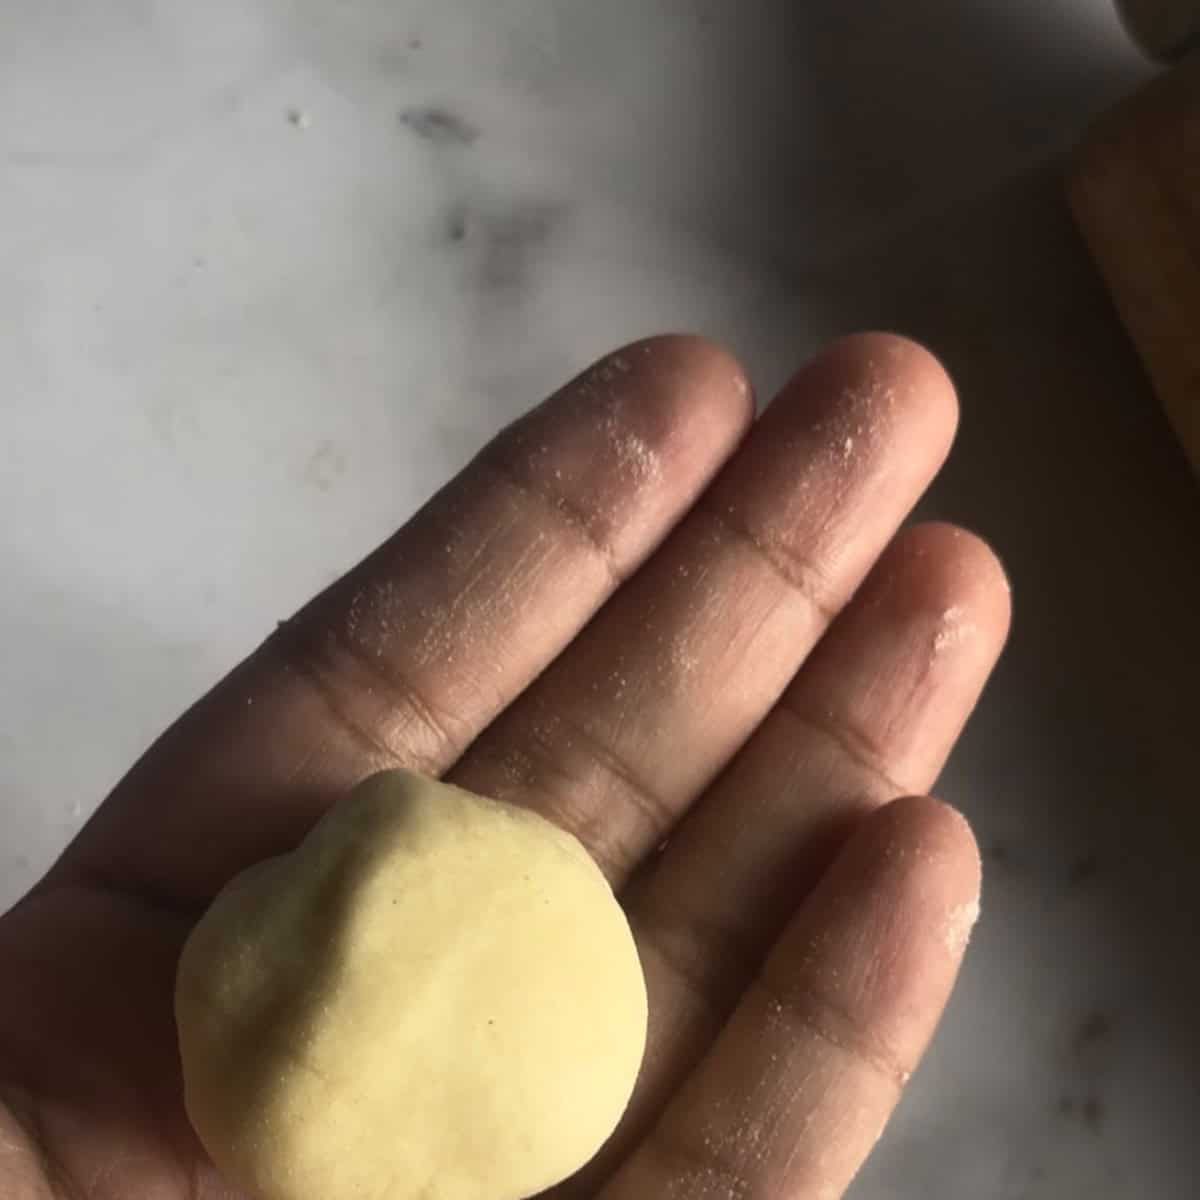
Flatten one piece of dough and add around 5g of cream cheese to the middle. Pinch the dough together to seal it, then roll it into a ball.
Repeat with the remaining dough.
Arrange the buns
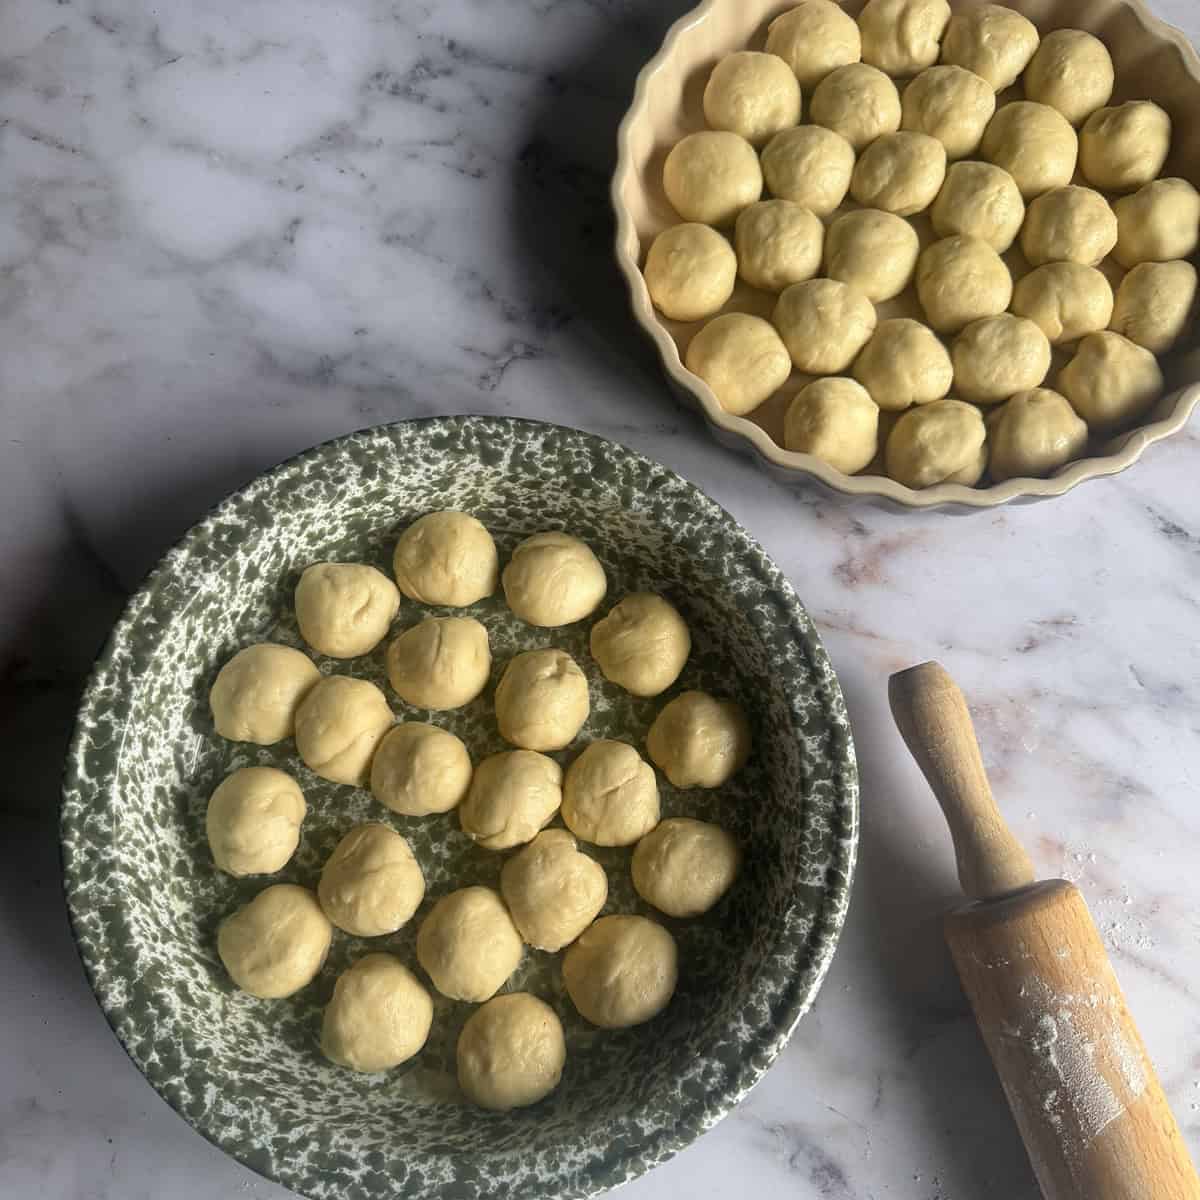
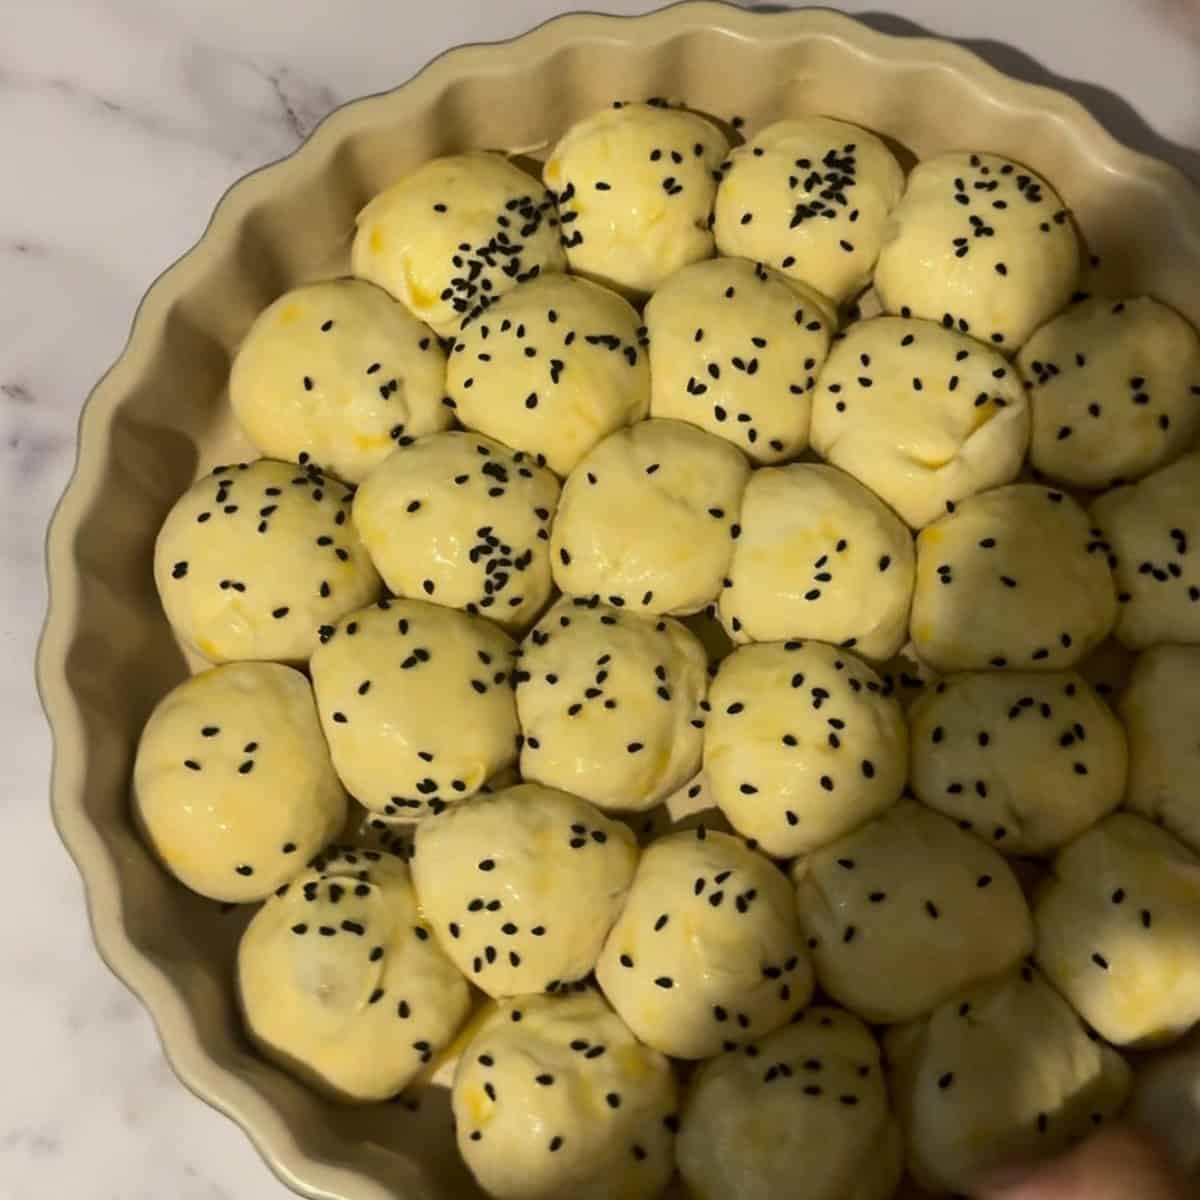
Place the balls into the prepared dish, leaving a small gap between each one.
Leave to prove for around 1½ hours, until doubled in size.
Egg wash and sesame seeds
Combine the egg and milk in a dish and whisk together.
Paint the buns with the egg wash.
Sprinkle with sesame seeds.
Bake
Bake at 190°C / Gas Mark 5 for 20-25 minutes, until golden.
Make the syrup
While the buns are baking, prepare the syrup.
Heat the water and sugar together and simmer for 10 minutes.
Add the honey and orange blossom water.
Pour the syrup over the buns while they are still hot.
And that is it. You now have a tray full of soft, golden, pull-apart honeycomb bread.
Condensed milk option
If you want something a little different, you can use sweetened condensed milk instead of the syrup.
Skip the sugar syrup completely and drizzle condensed milk over the hot buns as soon as they come out of the oven.
It gives the bread a thicker, creamier finish and is particularly good if you love condensed milk.
You can use as much or as little as you like.
Note - I would choose one or the other, rather than using condensed milk as well as the full syrup, unless you want these very sweet. I halve the Dough and put Syrup on one lot and Condensed Milk on the other.
Tips and Notes for making Khaliat Nahal
Salt will not kill Yeast - In this recipe we bloom the Yeast first and then add the remaining ingredients. If you are worried about the Salt touching the Yeast, add after the remaining ingredients. Read more about why Salt does not always slow down or kill Yeast.
Add the water slowly - The recipe calls for 125ml, but flour behaves differently depending on the brand and your kitchen. Add it gradually and use more if the dough feels dry.
Weigh the dough - There are 51 little buns here, so weighing the dough makes the job much easier and means they will all be roughly the same size.
Flavour the cream cheese carefully - The cream cheese is an easy place to change the flavour.
Try adding a little ground cardamom, cinnamon, ginger, orange or lemon zest, vanilla, saffron, mixed spice or finely grated dark chocolate.
The important thing is to keep the filling fairly thick. Avoid adding liquid or anything particularly wet, as it can make the cream cheese harder to contain and seal inside the dough.
You could even divide the cream cheese into a few bowls and make different flavours.
Seal the filling properly - Make sure you pinch the dough together well around the cream cheese before rolling it into a ball. You don't want all the filling escaping onto the bottom of the baking dish.
Grease your dish - Please don't skip this. The syrup makes everything wonderfully sticky, so grease the dish well unless you want to spend your evening wrestling the bread out of the tin.
Don't worry if they aren't perfect - They are going to prove, puff up and bake together. A slightly wonky ball is absolutely fine.
Can I flavour the cream cheese filling?
Absolutely.
The plain cream cheese filling is lovely, but this is an easy place to play around with flavour.
You could add a little:
- Ground cardamom
- Cinnamon
- Ground ginger
- Orange or lemon zest
- Vanilla
- A pinch of saffron
- Mixed spice
- Finely grated dark chocolate
The main thing is to avoid adding liquid to the cream cheese. You want the filling to stay thick enough to sit neatly inside the dough and be sealed without leaking.
I would also keep the amount of flavouring fairly small. You still want that creamy cheese centre to come through.
You can even divide the cream cheese into a few bowls and make different flavours if you are feeling particularly enthusiastic.
Can I flavour the syrup?
Absolutely.
Orange blossom water is my favourite here, but you can use:
- Rose water
- Lemon
- Lime
- Saffron
You can also reduce the sweetness according to your taste.
Can I use condensed milk instead of the syrup?
Yes.
This is a completely different finish, but it works really well.
Skip the sugar and honey syrup and drizzle sweetened condensed milk over the hot bread instead.
The result is thicker and creamier than the honey syrup.
Can I freeze Honeycomb Bread?
Yes.
To freeze unbaked
The buns can be frozen unbaked, without the honey topping, for up to 1 month if well wrapped.
Defrost them on the counter on the day you want to bake them, or in the fridge overnight.
Then bake as directed and add the syrup afterwards.
To freeze baked
The baked bread can be frozen without the egg wash and syrup for up to 3 months.
Wrap it well and keep it in a sealed container that keeps out moisture.
When you are ready to serve, egg wash and warm it in the oven at 150°C / Gas Mark 2 for around 10-20 minutes, then add the syrup.
To store in the fridge
The baked bread will keep in the fridge for up to 5 days.
When to serve Honeycomb Bread
This is one of those recipes that can work its way into several parts of the day.
Have it for breakfast with tea.
Put it out when people come over.
Serve it alongside other desserts.
Or make it simply because you want it.
It doesn't really need an occasion.
And because the buns are baked together, it is particularly good for sharing. Everyone can just pull one away from the honeycomb.
Frequently Asked Questions
What is Khaliat Nahal?
Khaliat Nahal is a honeycomb or beehive-style bread made from small balls of dough arranged together before baking.
Is Khaliat Nahal Yemeni?
This recipe is based on a Yemeni Honeycomb Bread, also known as Khaliat Nahal or Beehive Bread.
Why is it called Honeycomb Bread?
The small buns are arranged closely together and rise into each other during baking, creating a honeycomb or beehive appearance.
Can I use plain flour instead of strong bread flour?
Yes, but the buns will not be as soft.
Can I flavour the cream cheese?
Yes. Try spices such as cardamom, cinnamon or ginger, citrus zest, vanilla, saffron, mixed spice or a little finely grated dark chocolate. Avoid adding liquid so the filling remains thick enough to seal inside the dough.
Do I have to use orange blossom water?
No. It is optional. You can leave it out or use another flavour such as rose water, lemon, lime or saffron.
Can I use condensed milk instead of the syrup?
Yes. Skip the sugar and honey syrup and drizzle sweetened condensed milk over the hot buns instead.
How many buns does this recipe make?
This recipe makes 50 small buns.
How long do Honey Buns keep?
The baked bread can be kept in the fridge for up to 5 days.
Can I freeze them?
Yes. The unbaked buns can be frozen for up to 1 month, and the baked bread can be frozen for up to 3 months, following the instructions above.
A note from me
I have to admit, this is one of my absolute favourite!
It looks complicated because there are 50 little buns sitting in the tray, but once you get into a rhythm of filling and rolling them, it is actually quite straightforward.
And the finished bread is so worth it.
Soft buns, creamy cheese, sesame seeds and that sweet syrup soaking into everything. I am dreaming up variations already!
Other Bread Recipes:
Rate and Leave a comment
Did you make this recipe? i'd love to hear about it! did you try any variations? if you loved this recipe/tried any variations/have some top tips, please leave a star rating and comment below. Your reviews make our day and your tips help others to find our recipes and enjoy them too!
you can also follow us on instagram and subscribe to our newsletter to get our latest recipes.
📖 Recipe
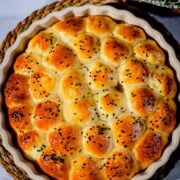
Yemeni Honeycomb Bread (Khaliat Nahal)
Ingredients
Dough and Filling
- 65 ml Milk Luke warm
- 7 g Instant Dry Yeast
- 1 teaspoon Salt
- 450 g Strong Bread Flour
- 50 g Caster Sugar
- 85 g Butter At room temperature
- 2 tablespoon Greek Yoghurt Not too runny
- 1 large Egg
- 125 ml Water Luke warm. You may need more. See Notes
- 230 g Cream Cheese Philadelphia or Kiri Cheese
Egg Wash
- 1 Egg
- 1 tbsp Milk
Topping
- Sesame Seeds Black or White
Syrup
- 250 ml Water
- 400 g Caster Sugar
- 1 tablespoon Honey
- 1 tablespoon Orange Blossom Water Or flavouring of your choice (Optional)
Instructions
Make the dough
- If you are not using instant yeast, activate the dry yeast by adding it to the warmed milk. Allow it to bloom for 5 minutes before continuing.If you are using instant yeast, add the milk to the yeast and continue.Add the salt. (It will not kill the Yeast. See Notes).Then add the flour, sugar, butter, yoghurt and egg.Add the water slowly. You may need a little more if the dough feels dry.Knead for 15 minutes in a stand mixer until smooth.Leave to prove in a warm place for 1 hour.
Divide and Fill
- Grease or line a large round baking dish or tray.Divide the dough into 50 pieces. I find the easiest way to do this is to weigh the dough and divide it accordingly.Flatten one piece of dough and add around 5g of cream cheese to the middle. Pinch the dough together to seal it, then roll it into a ball.Repeat with the remaining dough.
Arrange the buns
- Place the balls into the prepared dish, leaving a small gap between each one.Leave to prove for around 1½ hours, until doubled in size.
Egg wash and sesame seeds
- Combine the egg and milk in a dish and whisk together.Paint the buns with the egg wash.Sprinkle with sesame seeds.
Bake
- Bake at 190°C / Gas Mark 5 for 20-25 minutes, until golden.
Make the syrup
- While the buns are baking, prepare the syrup.Heat the water and sugar together and simmer for 10 minutes.Add the honey and orange blossom water.Pour the syrup over the buns while they are still hot.And that is it. You now have a tray full of soft, golden, pull-apart honeycomb bread.
Condensed milk option
- If you want something a little different, you can use sweetened condensed milk instead of the syrup.Skip the sugar syrup completely and drizzle condensed milk over the hot buns as soon as they come out of the oven.It gives the bread a thicker, creamier finish and is particularly good if you love condensed milk.You can use as much or as little as you like.Note - I would choose one or the other, rather than using condensed milk as well as the full syrup, unless you want these very sweet. I halve the Dough and put Syrup on one lot and Condensed Milk on the other.
Notes
Tips for making Khaliat Nahal
Salt will not kill Yeast - In this recipe we bloom the Yeast first and then add the remaining ingredients. If you are worried about the Salt touching the Yeast, add after the remaining ingredients. Read more about why Salt does not always slow down or kill Yeast. Add the water slowly - The recipe calls for 125ml, but flour behaves differently depending on the brand and your kitchen. Add it gradually and use more if the dough feels dry. Weigh the dough - There are 51 little buns here, so weighing the dough makes the job much easier and means they will all be roughly the same size. Flavour the cream cheese carefully - The cream cheese is an easy place to change the flavour.Try adding a little ground cardamom, cinnamon, ginger, orange or lemon zest, vanilla, saffron, mixed spice or finely grated dark chocolate. The important thing is to keep the filling fairly thick. Avoid adding liquid or anything particularly wet, as it can make the cream cheese harder to contain and seal inside the dough. You could even divide the cream cheese into a few bowls and make different flavours. Seal the filling properly - Make sure you pinch the dough together well around the cream cheese before rolling it into a ball. You don't want all the filling escaping onto the bottom of the baking dish. Grease your dish - Please don't skip this. The syrup makes everything wonderfully sticky, so grease the dish well unless you want to spend your evening wrestling the bread out of the tin. Don't worry if they aren't perfect - They are going to prove, puff up and bake together. A slightly wonky ball is absolutely fine.
Can I flavour the cream cheese filling?
Absolutely. The plain cream cheese filling is lovely, but this is an easy place to play around with flavour. You could add a little:- Ground cardamom
- Cinnamon
- Ground ginger
- Orange or lemon zest
- Vanilla
- A pinch of saffron
- Mixed spice
- Finely grated dark chocolate
Can I flavour the syrup?
Absolutely.Orange blossom water is my favourite here, but you can use:
- Rose water
- Lemon
- Lime
- Saffron
Can I use condensed milk instead of the syrup?
Yes. This is a completely different finish, but it works really well. Skip the sugar and honey syrup and drizzle sweetened condensed milk over the hot bread instead.The result is thicker and creamier than the honey syrup.
Can I freeze Honeycomb Bread?
Yes.To freeze unbaked
The buns can be frozen unbaked, without the honey topping, for up to 1 month if well wrapped. Defrost them on the counter on the day you want to bake them, or in the fridge overnight.Then bake as directed and add the syrup afterwards.
To freeze baked
The baked bread can be frozen without the egg wash and syrup for up to 3 months. Wrap it well and keep it in a sealed container that keeps out moisture. When you are ready to serve, egg wash and warm it in the oven at 150°C / Gas Mark 2 for around 10–20 minutes, then add the syrup.To store in the fridge
The baked bread will keep in the fridge for up to 5 days.When to serve Honeycomb Bread
This is one of those recipes that can work its way into several parts of the day. Have it for breakfast with tea.Put it out when people come over.
Serve it alongside other desserts.
Or make it simply because you want it.
It doesn't really need an occasion. And because the buns are baked together, it is particularly good for sharing. Everyone can just pull one away from the honeycomb.
Toni says
It was so amazing! My kids are requesting me to make it again!
Safira says
I am so glad to hear! Thank you for your feedback
Julia says
This sounds so delicious! I will be trying new roll/bread/bun recipes so thanks for the inspiration!
Safira says
Hope you love them!
Erica says
The golden tops of these are so beautiful, there's nothing quite like pulling open a fresh, warm bun!
Safira says
I know right! The smell alone is enough!
Tania | Fit Foodie Nutter says
Wow! These are the best looking buns I've seen! I love the glaze on these - it makes them look even more scrumptious!
Safira says
Thanks so much!
Cindy says
My kiddos and I made this together! We have been spending a lot more time in the kitchen lately and its so fun. They really enjoyed making this recipe but they enjoyed eating it even more! Thanks for this delish creation, we are adding it to our “make again” list!! My kids are literally bread-a-holics so this was perfect!
Safira says
Yay that is great. I am glad they got to enjoy the process as well as the goods!
Cal says
Hi, can I use all-purpose flour if I don’t have bread flour? Thanks!
Safira says
Hi,
Yes absolutely. However the buns won't be as soft. x
Maathir says
This recipe is amazing i don't know how many time I made it is a keeper. Thank you so much
Safira says
Thank you for your kind words. I am so glad to hear it. I have to admit, it is one of my absolute personal favourites! x